Getting Started with Hosting on the DCISM Web Server
To begin hosting web applications on the DCISM web server (web.dcism.org), you’ll first need to log in to the admin panel at https://admin.dcism.org/.
Credentials: Use the same username and password you set up for your DCISM account, the one you use to log in to DCISM computers.
Admin Panel Home Page
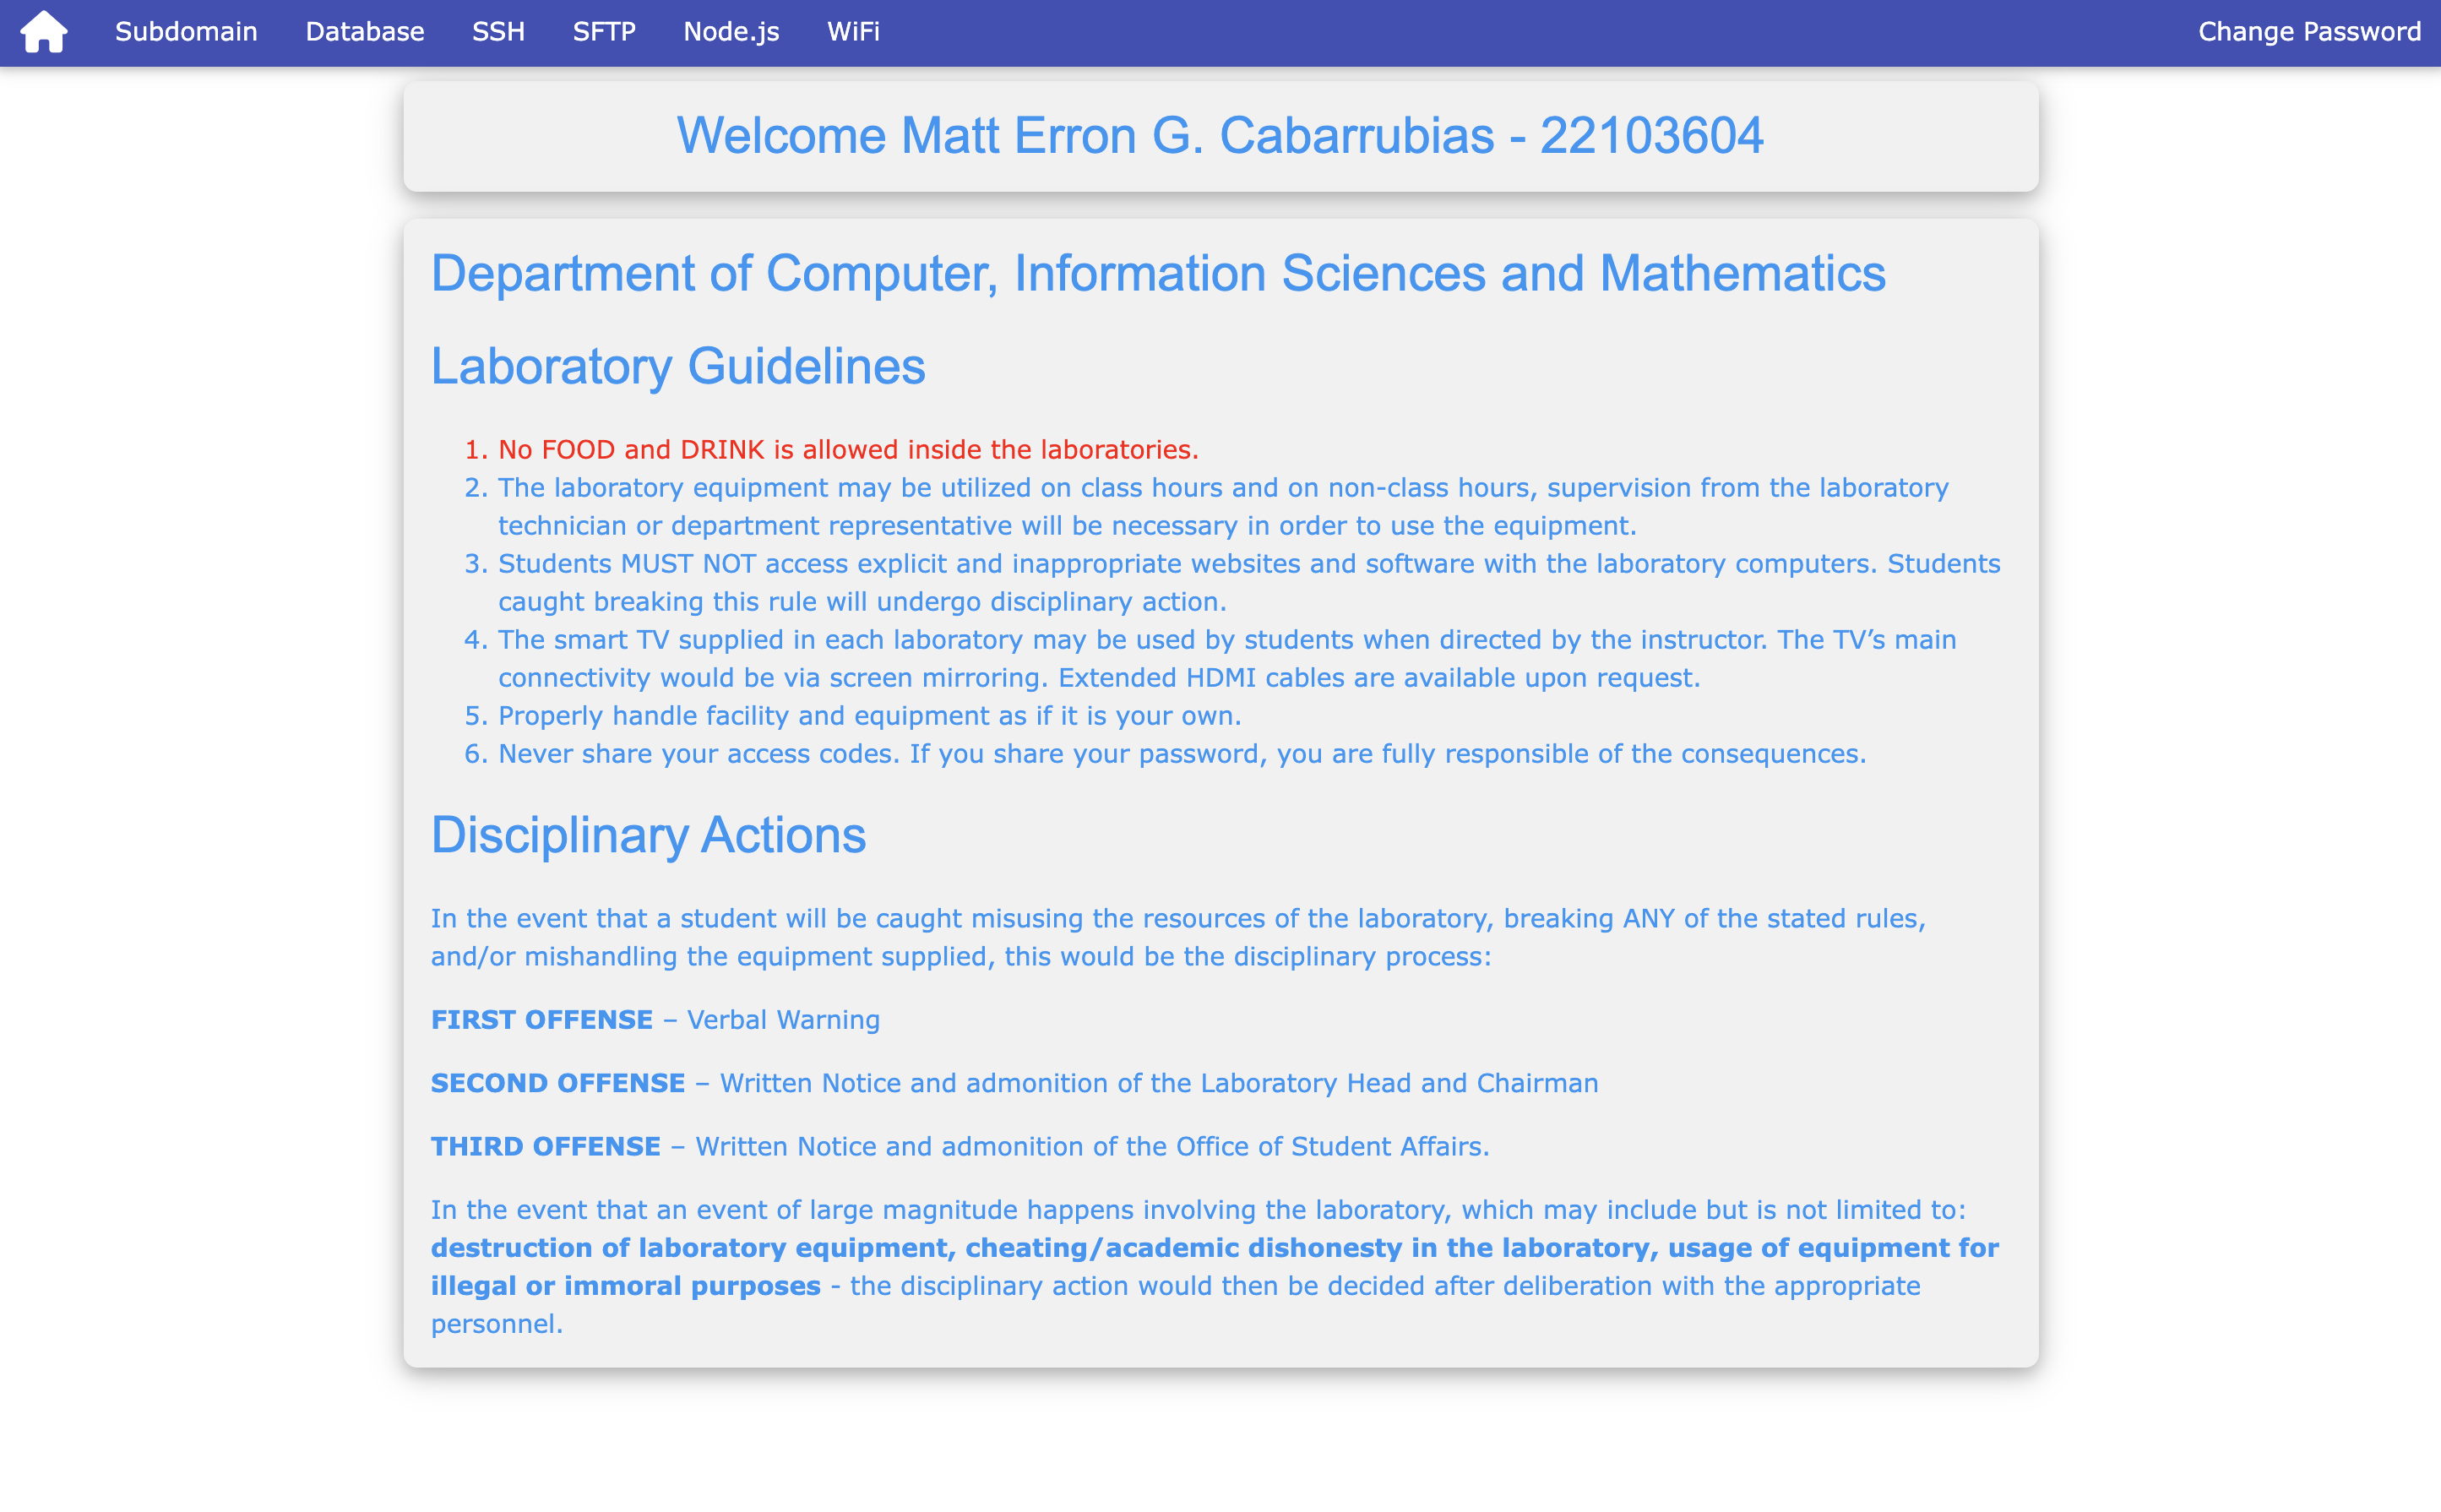
Once logged in, you’ll land on the admin panel’s home page. This is where you’ll manage your hosting settings.
Enable SSH and SFTP Access
To upload files (like your website code) and run commands on the server, you need to turn on SSH and SFTP. These tools let you securely connect to the server from your computer.
- SSH: For running commands (starting a server or checking files).
- SFTP: For uploading and managing your website files.
How to Enable Them
- In the admin panel, find the options for
SSHandSFTP. - Click "Enable SSH".
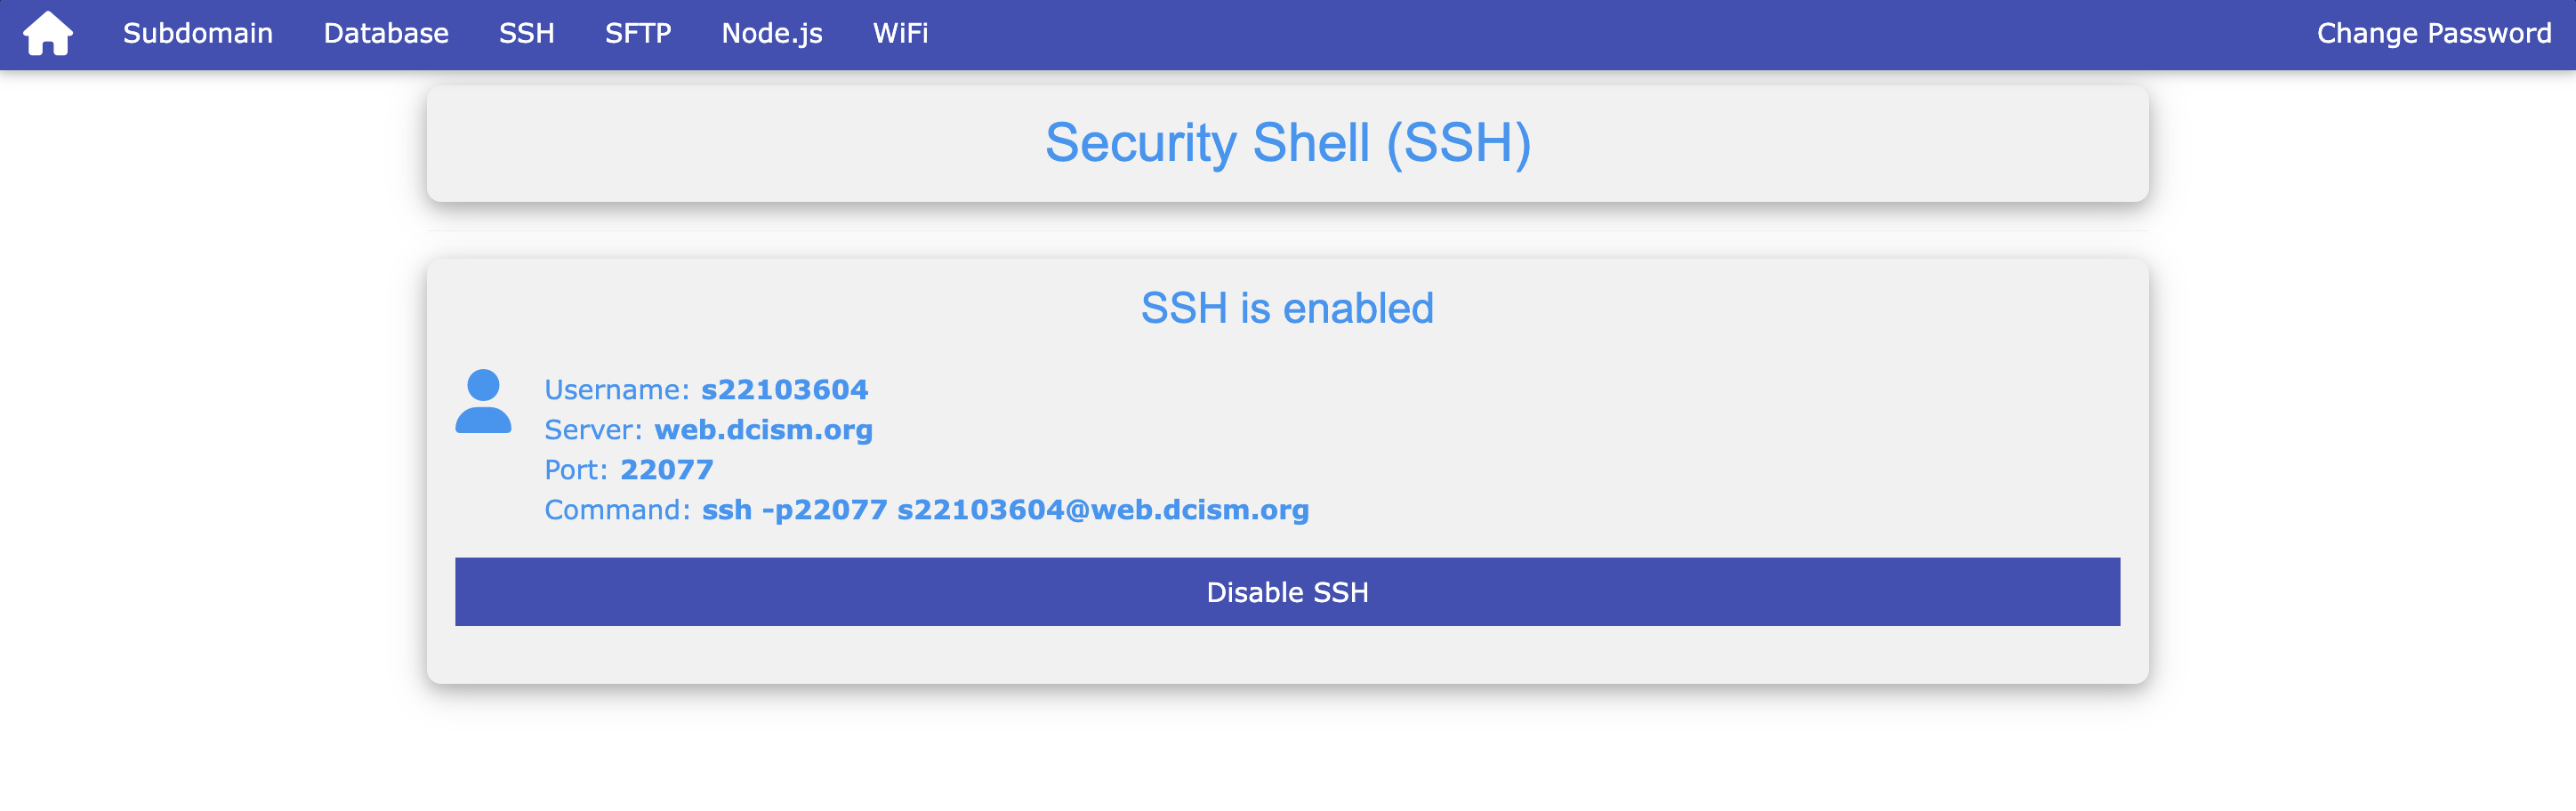
The password to your SSH and SFTP clients is the same password you used to login to the admin panel.
Connect to the Server with SSH
ssh -p22077 sUSC_ID@web.dcism.orgNOTE
Replace USC_ID with your USC ID, in my case it's s22103604@web.dcism.org. The DCISM server uses port 22077 for SSH connections.
Accessing SFTP File Server
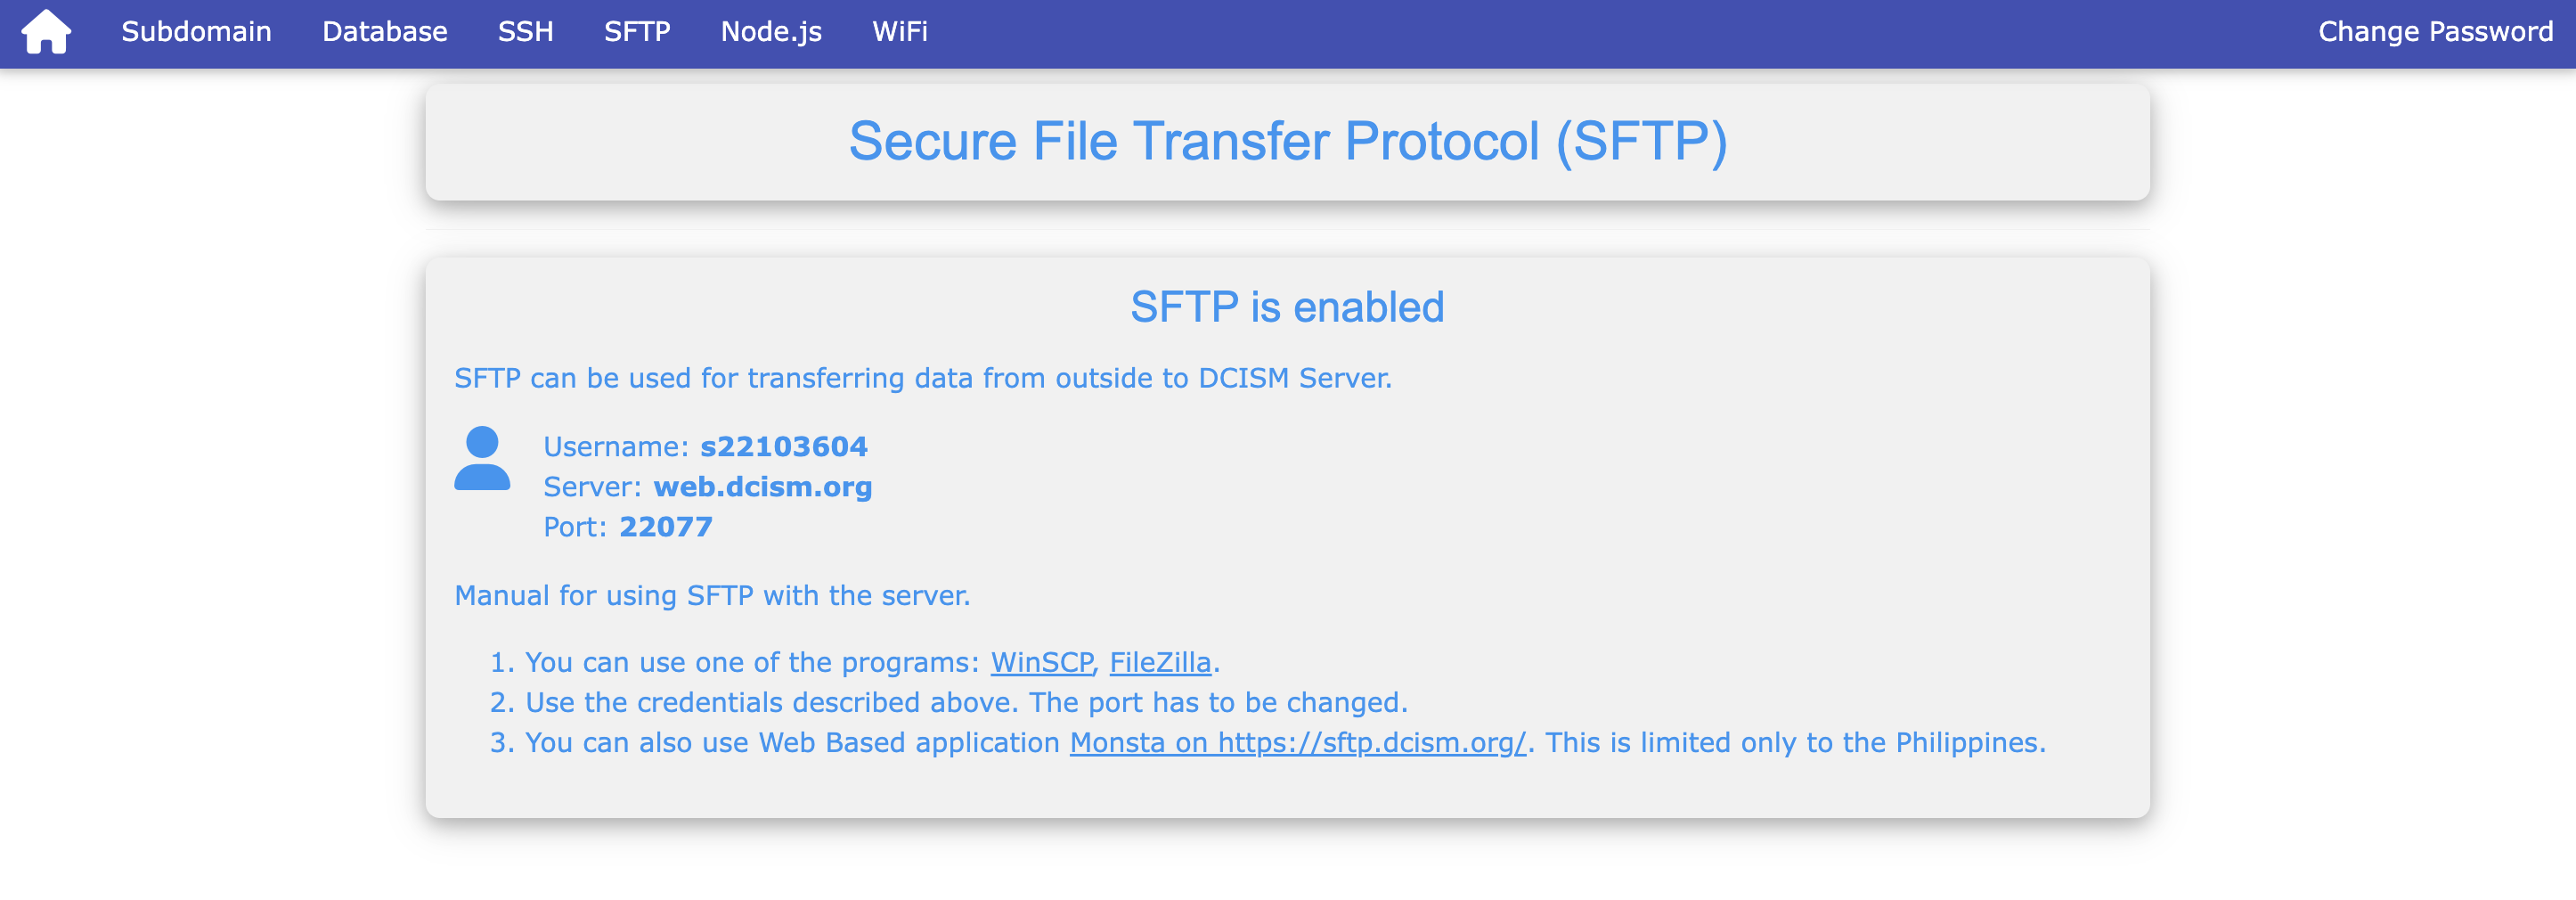
Once SSH and SFTP are enabled on your dcism.org web server, you can connect to the SFTP file server to upload, download, or manage your web application files. Follow these steps to access it using an SFTP client.
Install an SFTP Client
An SFTP client is required in order to establish connection and sync with the SFTP file server. Below are some SFTP client recommendations:
- FileZilla (cross-platform, free)
recommended - WinSCP (Windows, free)
- Cyberduck (macOS/Windows, free)
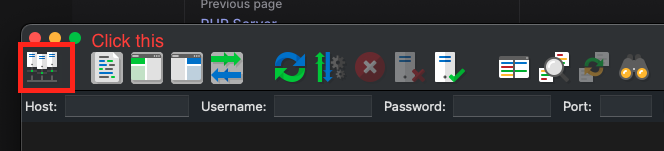
Configure your SFTP Connection
In your SFTP client, establish a connection with the SFTP server. Note: It varies from client to client on how to establish a connection, below is an example for FileZilla client users:
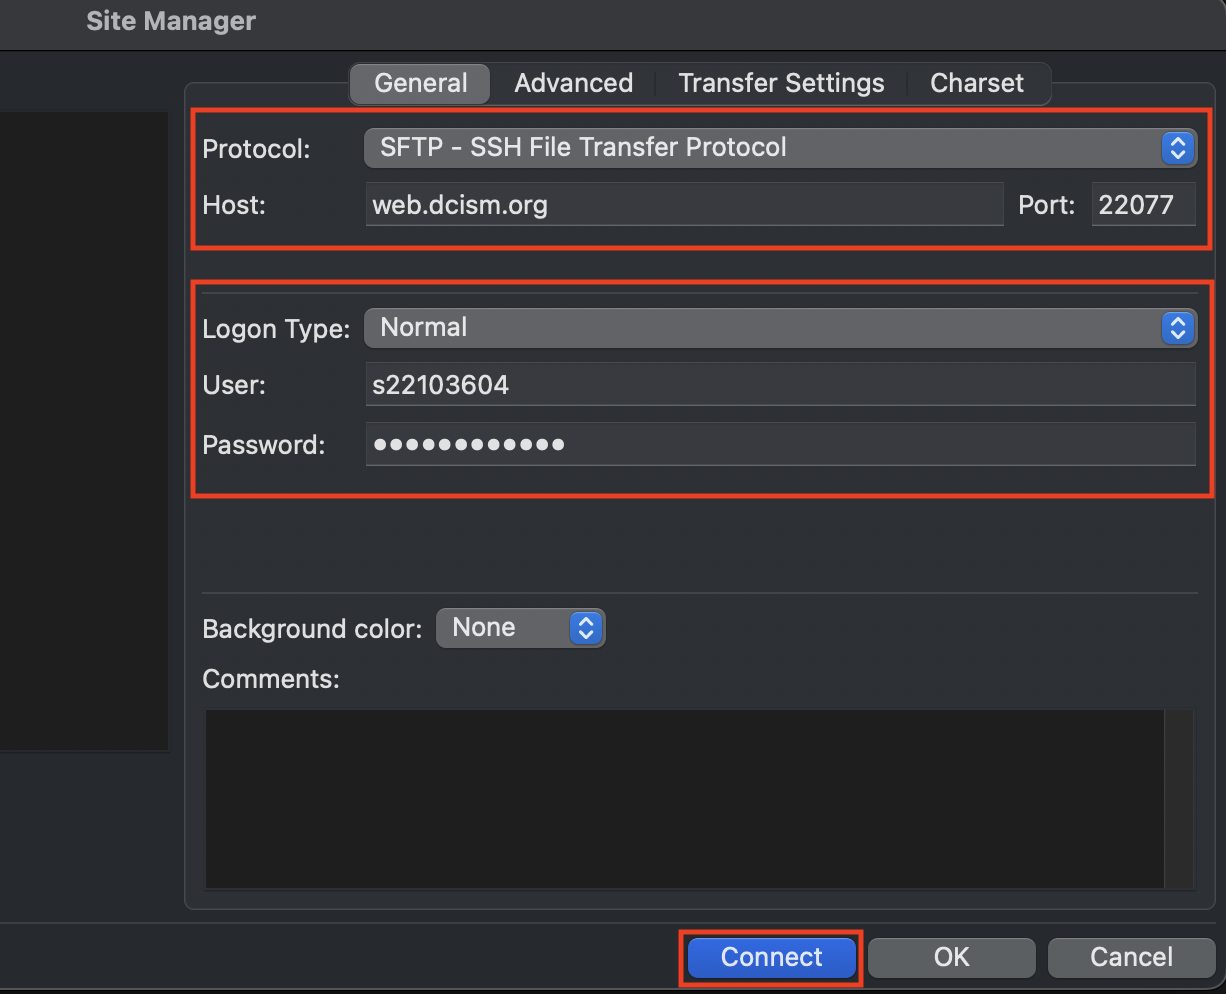
- Host:
web.dcism.org - Port:
22077 - Username: Your USC ID (e.g.,
s22103604) - Password: The same password used for the admin panel and SSH
- Protocol: Select
SFTP(notFTP)
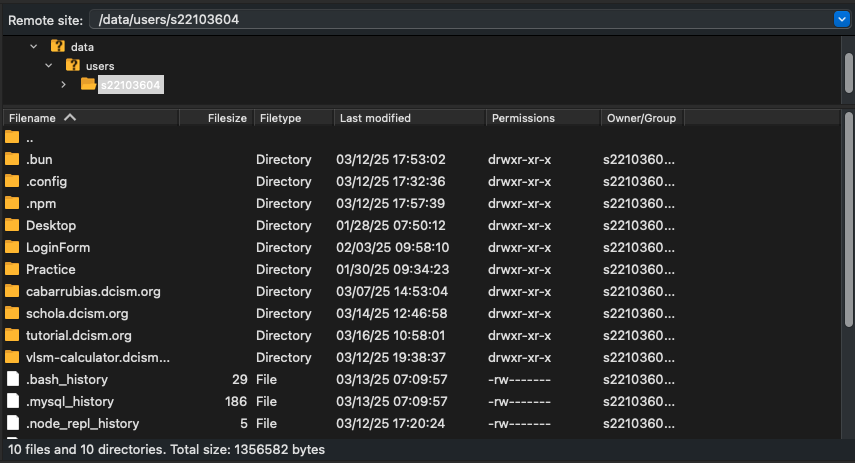
After connecting, you should now be able to see your remote file directory, with all personal files that you've uploaded and subdomains you created.